Deleting your Facebook account will help you restore your online privacy and reduce digital clutter, let’s see How to delete Facebook!!
Though privacy worries are genuine, you may avoid handing your data to third-party apps and secure your profile. However, if you do not trust Facebook with your personal information, you may reconsider passing it over.
Even so, the prospect of losing years of images, conversations, and postings can be overwhelming. Fortunately, Facebook provides options for downloading your data before deleting your account. Here’s a step-by-step guide to avoiding losing your valuable memories should you decide to say goodbye to Facebook.
How to download Facebook data
If you wish to save the information and data on your Facebook account before deleting it, you can save it as an archive to your computer. Facebook can collect your shared posts, photographs, and videos, as well as your messages and chat chats, information from your profile’s ‘About’ area, and more.
Here are the steps to follow:
- Go to Facebook and log in with your username and password.
- Click on your profile picture in top-right corner of the page.
- Select ‘Settings & Privacy ‘and then ‘Settings’.
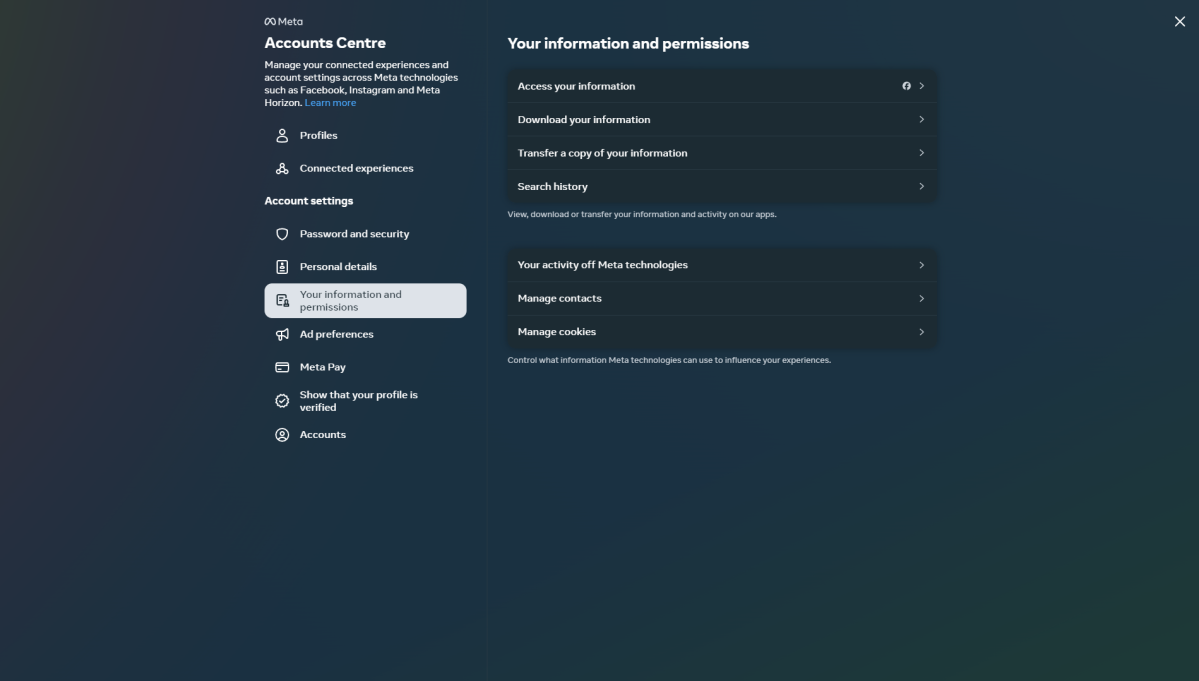
- In the left-hand menu, click on ‘Your information’.
- Click on ‘Download your information’.
- You’ll see a list of all the types of data you can download. This includes posts, photos, videos, comments, likes and more.
- You can select the specific data you want or choose to download everything. Make sure to select the appropriate date range, format (HTML or JSON) and media quality.
- Once you’ve made your selections, click ‘Create files’.
- Facebook will begin creating a file with your data. This process can take some time, depending on the amount of information you have.
- Facebook will notify you when your file is ready to download. You can access it from the ‘Available Files’ tab on the ‘Download Your Information’ page.
- Click ‘Download’ and save the file to your computer or external storage device.
 How to delete Facebook!
After downloading your data, go over the files to make sure all critical information is included. This is critical because once your account is terminated, you will lose access to Facebook’s data recovery alternatives.
How to permanently delete Facebook
If you are ready to permanently delete your account, follow these steps:
- Go to ‘Settings & Privacy’ > ‘Settings’ > ‘Your information’.
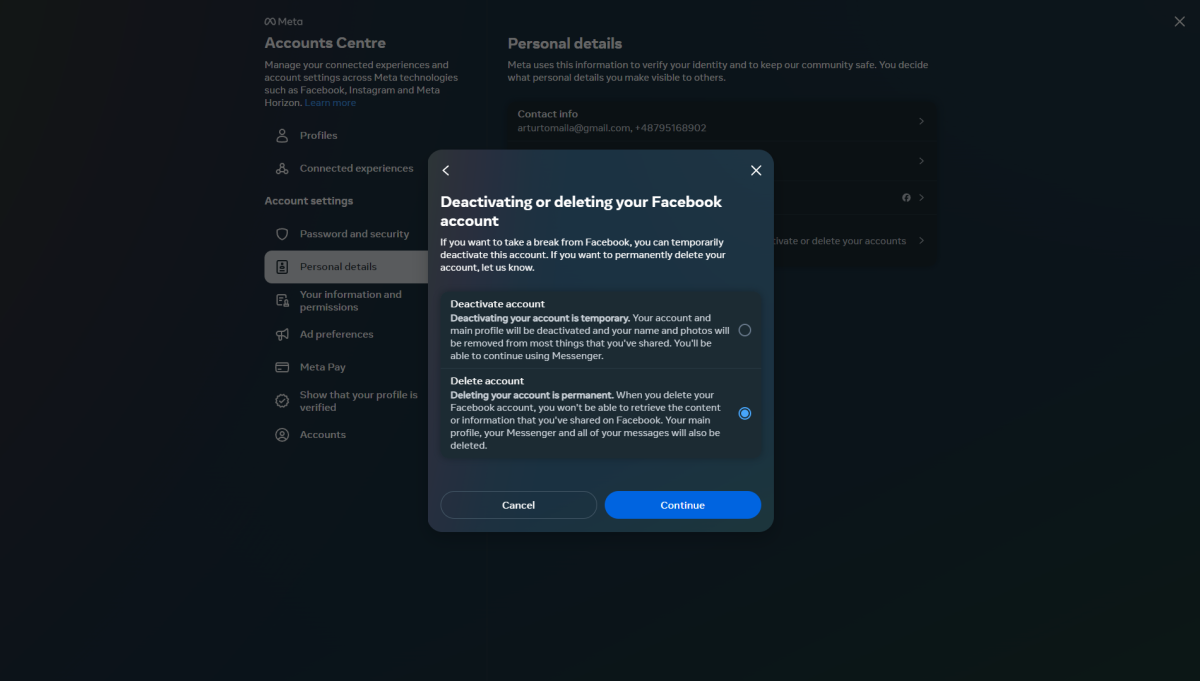
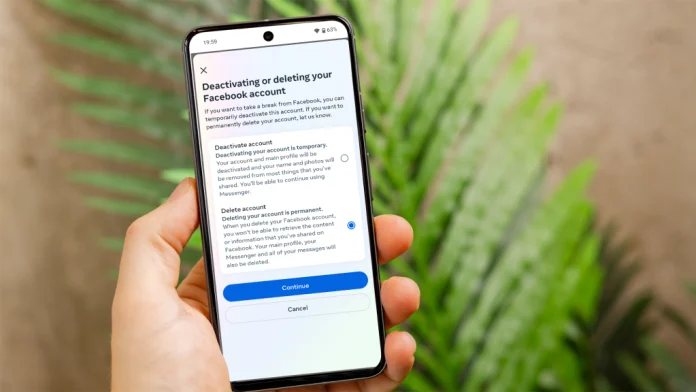
- Click ‘Deactivation and Deletion’.
- Select ‘Delete Account’ and click ‘Continue to Account Deletion’.
- Enter your password and follow the on-screen instructions.

Be advised that the permanent termination of your Facebook account cannot be reversed. If you’re not certain you’ll never want to return to Facebook, temporarily suspending your account may be a better option.
How to temporarily disable Facebook
You will not lose any of your Facebook data, including contacts and images, if you temporarily disable your account. To deactivate your account:
- Go to ‘Settings & Privacy’ > ‘Settings’ > ‘Your information’.
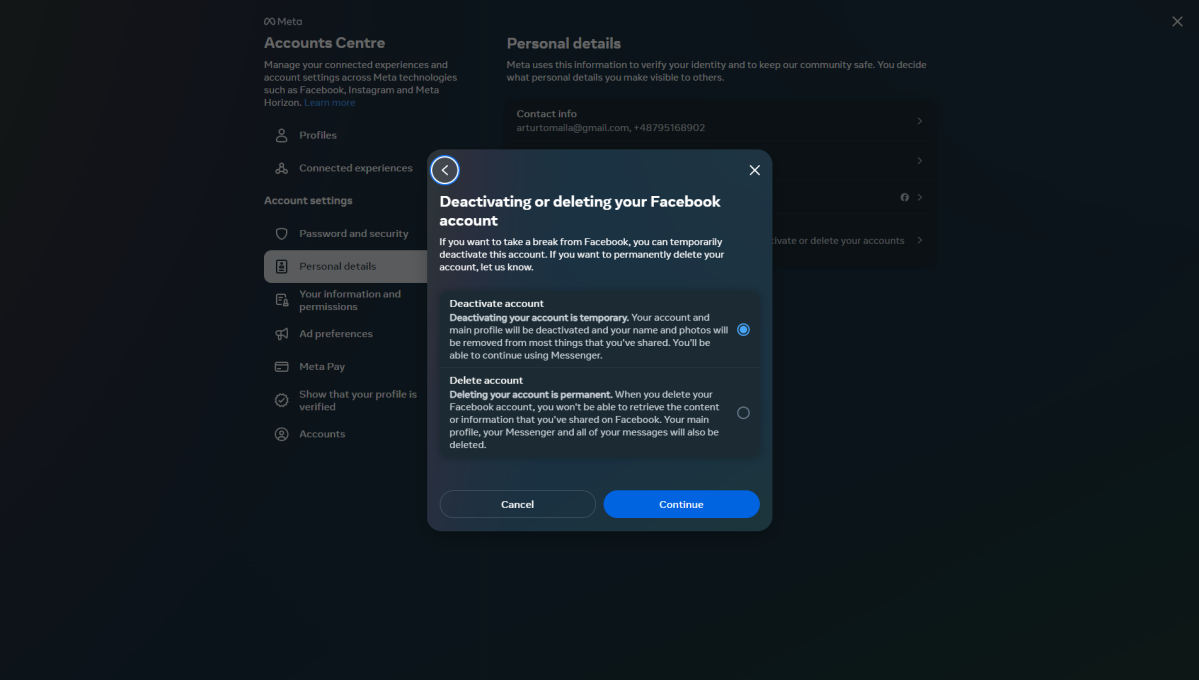
- Click ‘Deactivation and Deletion’.
- Select ‘Deactivate Account’ and follow the on-screen instructions.

If you elect to remove your Facebook account, it will be permanently deleted after 30 days. During this time, you can check in to cancel the deletion if your mind changes.
After 30 days, the account and its associated data will be permanently wiped from Facebook’s servers.


